
If the greenhouse you’ve been cutting and shaping with corrugated plastic is starting to feel a little tight, you might want to consider upgrading to glass. It’s a great way to open up your greenhouse and let in more natural light, but it comes with some tinkering that needs to happen before the installation.
Fortunately, we’re here to help you get the lay of the land. Keep reading for the short list of prepping and planning you’ll need to complete before installing a glass roof on a greenhouse.
Plan and Prepare
Before beginning the installation, it is essential to have a well-thought-out plan. Determine the dimensions of your greenhouse and calculate the amount of glass required.
Consider the angle of the roof to ensure maximum sunlight exposure. Additionally, gather all the necessary tools and materials, including safety equipment such as gloves and goggles.
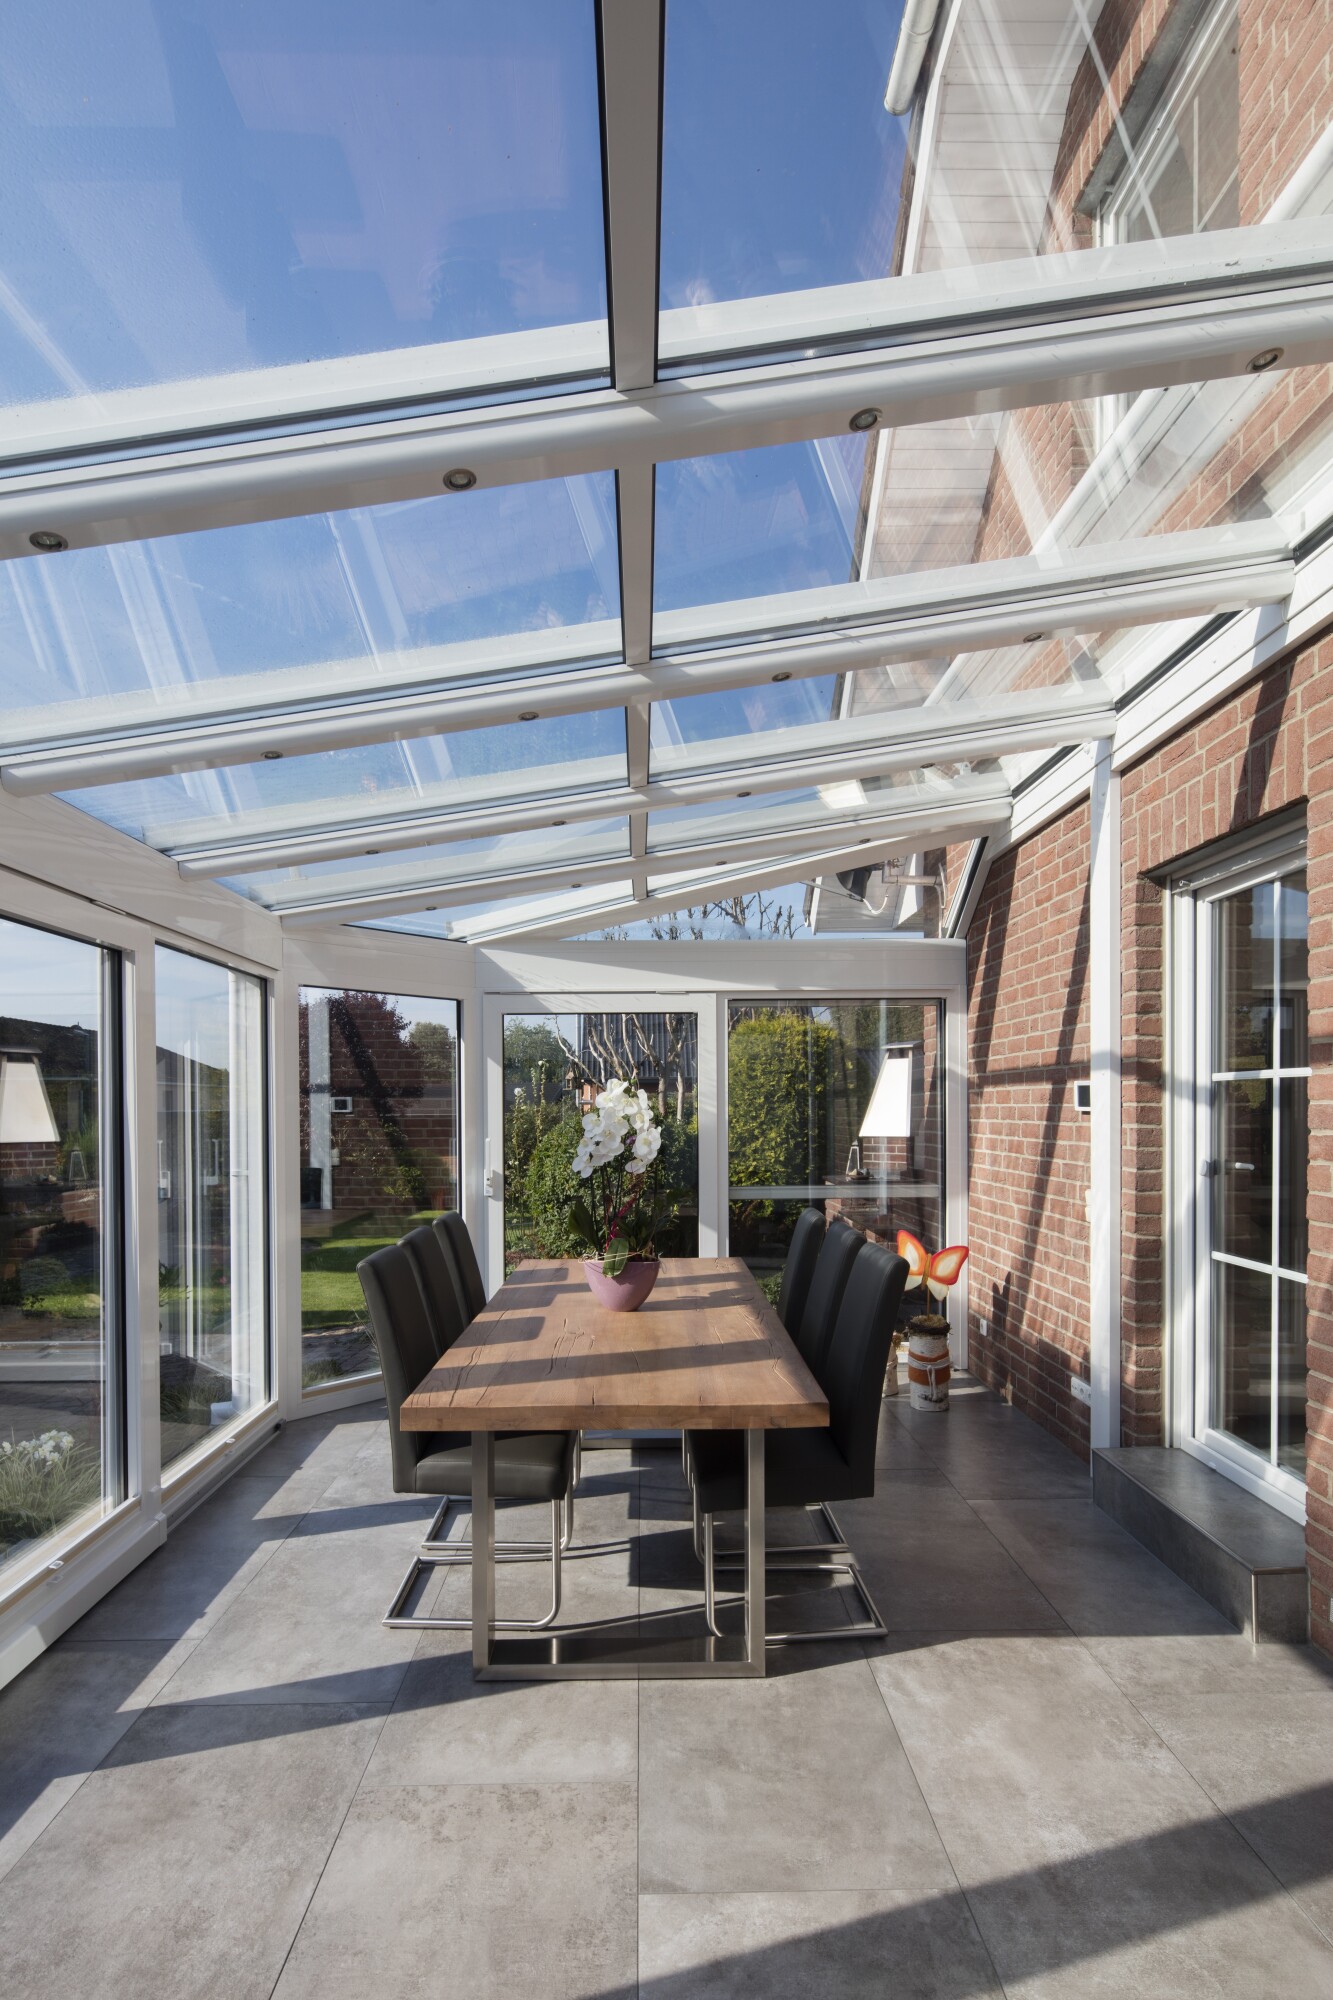
Remove the Existing Roof
If you already have a roof on your greenhouse, carefully remove it before proceeding with the glass installation. Take precautions to avoid any damage to the structure or the plants inside.
This step may involve unscrewing panels, removing nails, or dismantling the existing roofing material.
Clean the Greenhouse Frame
Before installing the glass, thoroughly clean the greenhouse frame to ensure a smooth and secure surface for the glass panels. Remove any dirt, debris, or old sealants. Inspect the frame for any signs of damage and repair as needed.
Measure and Cut the Glass Panels
Measure the dimensions of the roof frame accurately to determine the size of the glass panels required. When cutting the glass, use appropriate tools such as a glass cutter or a circular saw with a diamond blade.
Take utmost care to ensure precise cuts, and wear protective gear to prevent injuries.
Install the Glass Panels
Carefully lift each glass panel and place it onto the greenhouse frame. Start from one corner and work your way across the roof.
Use glazing clips or specialized greenhouse glass clips to secure the panels in place. These clips help hold the glass firmly while allowing for expansion and contraction due to temperature changes.
Seal the Edges
To prevent moisture infiltration and to provide a secure fit, it is crucial to seal the edges of the glass panels. Apply a suitable greenhouse-grade silicone sealant along the edges, ensuring complete coverage.
Smooth out the sealant with a caulk smoothing tool for a neat and watertight finish.
Reinforce the Structure
As glass can be heavy, it is important to reinforce the greenhouse structure to support the added weight. Consider adding additional supports, such as aluminum or steel bars, to enhance the stability and load-bearing capacity of the greenhouse.
Test for Leaks and Make Necessary Adjustments
After installing the glass roof on your greenhouse, it’s important to test for leaks and make any necessary adjustments. To do this, you can spray water on the roof and observe if there are any water seepages. If you notice any leaks, apply additional sealant to prevent moisture infiltration.
Regularly inspect the roof for damage or deterioration, and address it promptly to maintain the integrity of the structure. For post-construction cleanup services, visit https://scrubnbubbles.com/star-id-house-cleaning-services/ to ensure a sparkling clean greenhouse.
Install a Glass Roof on a Greenhouse Today
Glass roof installation on your greenhouse is an easy test of your DIY skills and will give you a bright, well-insulated growing space. With the proper materials and step-by-step instructions, you can have a beautiful greenhouse addition in no time.
So get started today, and start enjoying the great outdoors from within!
For more helpful guides, check out the rest of our website.