
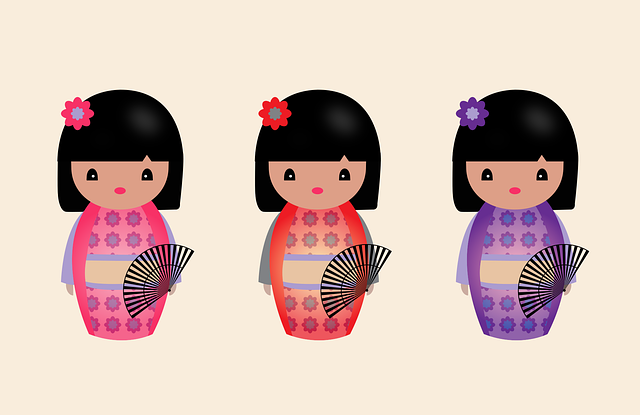
Comic figurines offer cinematic and dramatic portrayals of various popular characters, mainly rendered in simple colors and lines.
This can be applied to those obscure characters who have very few scopes for merchandise and live-action adaptation. With the beautiful 3D printed custom figurines, some perfect and compelling visuals can be created for those characters.
Nowadays, many people can create realistic and dramatic custom figurines with ease. The entire procedure of creating custom figurines involves modeling a specific character, printing it in 3d, and painting it.
The secret to successfully completing this process is a tool called MakeHuman. With the help of this tool, you don’t have to start your sculpting task from scratch because this tool allows you to create a posable and simple human figure easily.
The entire procedure includes several steps like:
- Decide which character you wish to create
- Create a base model with a specific pose.
- Sculpt clothes, features, props, etc., of the model.
- Clean the model for printing.
- Print it.
- Post-process the print.
- Seal it after applying paints.
- The procedure to create 3d printed custom figurines
Step 1: Planning
This step consists of planning a specific vision for your figurine. It is one of the procedure’s most crucial yet fun and rewarding steps. With this step, you can create your own custom figurines which appeal uniquely to you. I
n this step, you should go through the pictures of the character and decide what you wish to tell. Only after imagining the character’s details can you give it a perfect look as per your imagination.
So, do not forget to consider the details you want to add to your 3d printed custom figurines. You can even ask your friends for suggestions and create a unique look for your favorite character.
Step 2: creating a base figure
In this step, you must create a specific 3D figure of your favorite character with the open-source creator MakeHuman. This program has some sets of outfits, facial and body poses, and hairstyles.
You can choose one of those. You can even become a little creative and add some new features to the character as per your choice.
There are many other tools other than MakeHuman, where you can select some attractive features or pose for your figurine. After that, you should set the scale and export it as an exchange file or.mhx.
Step 3: importing and posing
In this step, you must import your Mhx file and complete the posing in Blender. You can make some adjustments by using the undo button if necessary.
Step 4: Sculpting
After posing the figure, you should go to the step of sculpting. For sculpting properly, you should grab the tool and rotate it in the required directions. You can even modify faces and vertices directly with the help of edit tools.
Step 5: Adding props
You can create the base of the figure by choosing Add>Mesh options and adding a cube or sphere for sculpting.
Step 6: Preparing for printing
Preparing your figurine for printing needs to join the figurine into a single closed STL. In this step, you can turn the parts like clothes, hair, and body parts into one object and produce a seamless figurine.
Step 7: Printing
Now, you will need a printer with a 0.5 mm nozzle and print your figurine while incorporating your preferred techniques.
Step 8: Assembling
In this step, you can assemble the body parts of your figurine with the help of glue. You can even use a bit of filing, sanding, deburring, etc. if required.
Step 9: Painting
Now, you can apply paint to the figurine. You should apply the lowest layers like the skin, then go to the clothes. You may use Acrylic paints, as those are forgiving. After that, you should seal the paint with a coat of spray paint.
Step 10: Enjoy your creation
In this step, your 3D-printed custom figurines are complete, and you can show your creation to others. Therefore, if you plan to create a few 3D-printed custom figurines, you can follow the steps above.