Have you been eagerly waiting to start painting your new home? If so, it’s time to start working on the drywall. Prepping drywall for paint is essential, and doing so a few days before you plan to paint will help you out.
That said, here are a few key steps you need to follow to prep drywall. In no time, you’ll be painting a stylish home.
Let’s explore everything you need to know. Read along to learn more!
1. Clean the Wall
Begin by dusting the walls with a microfiber cloth to remove any dust, cobwebs, or other debris. Be sure to move up or down in sections to ensure all of the wall surfaces are covered. Once dusting is complete, use a damp cloth to clean the wall in small sections.
Start at the top and work your way down with a gentle wiping motion. Use a mild soap solution if the wall is still visibly dirty, and allow the wall to dry before you begin painting drywall. Be sure to use a cloth that doesn’t leave behind any fuzz, lint, or residue that will interfere with the adhesion of the new paint.
2. Patch Any Holes or Cracks With Drywall Compound
The first step is to purchase the correct type of drywall repair kit. This kit should contain items such as a putty knife, drywall compound, sandpaper, and fiberglass mesh tape.
To start, you’ll need to use the putty knife to scrape away any jagged edges of the damaged area. Smooth out the edges and the surface of the wall surrounding the hole.
Next, you’ll need to cover the area with fiberglass mesh tape to help strengthen the surface. Apply generous amounts of the compound, working it into the mesh tape using a putty knife.
Make sure the compound completely covers the mesh tape. Once the patch is completely dry, lightly sand the patched area until it is smooth. Then, you are ready to prime and paint. Remember, thorough prep work is essential when patching holes or cracks in drywall.
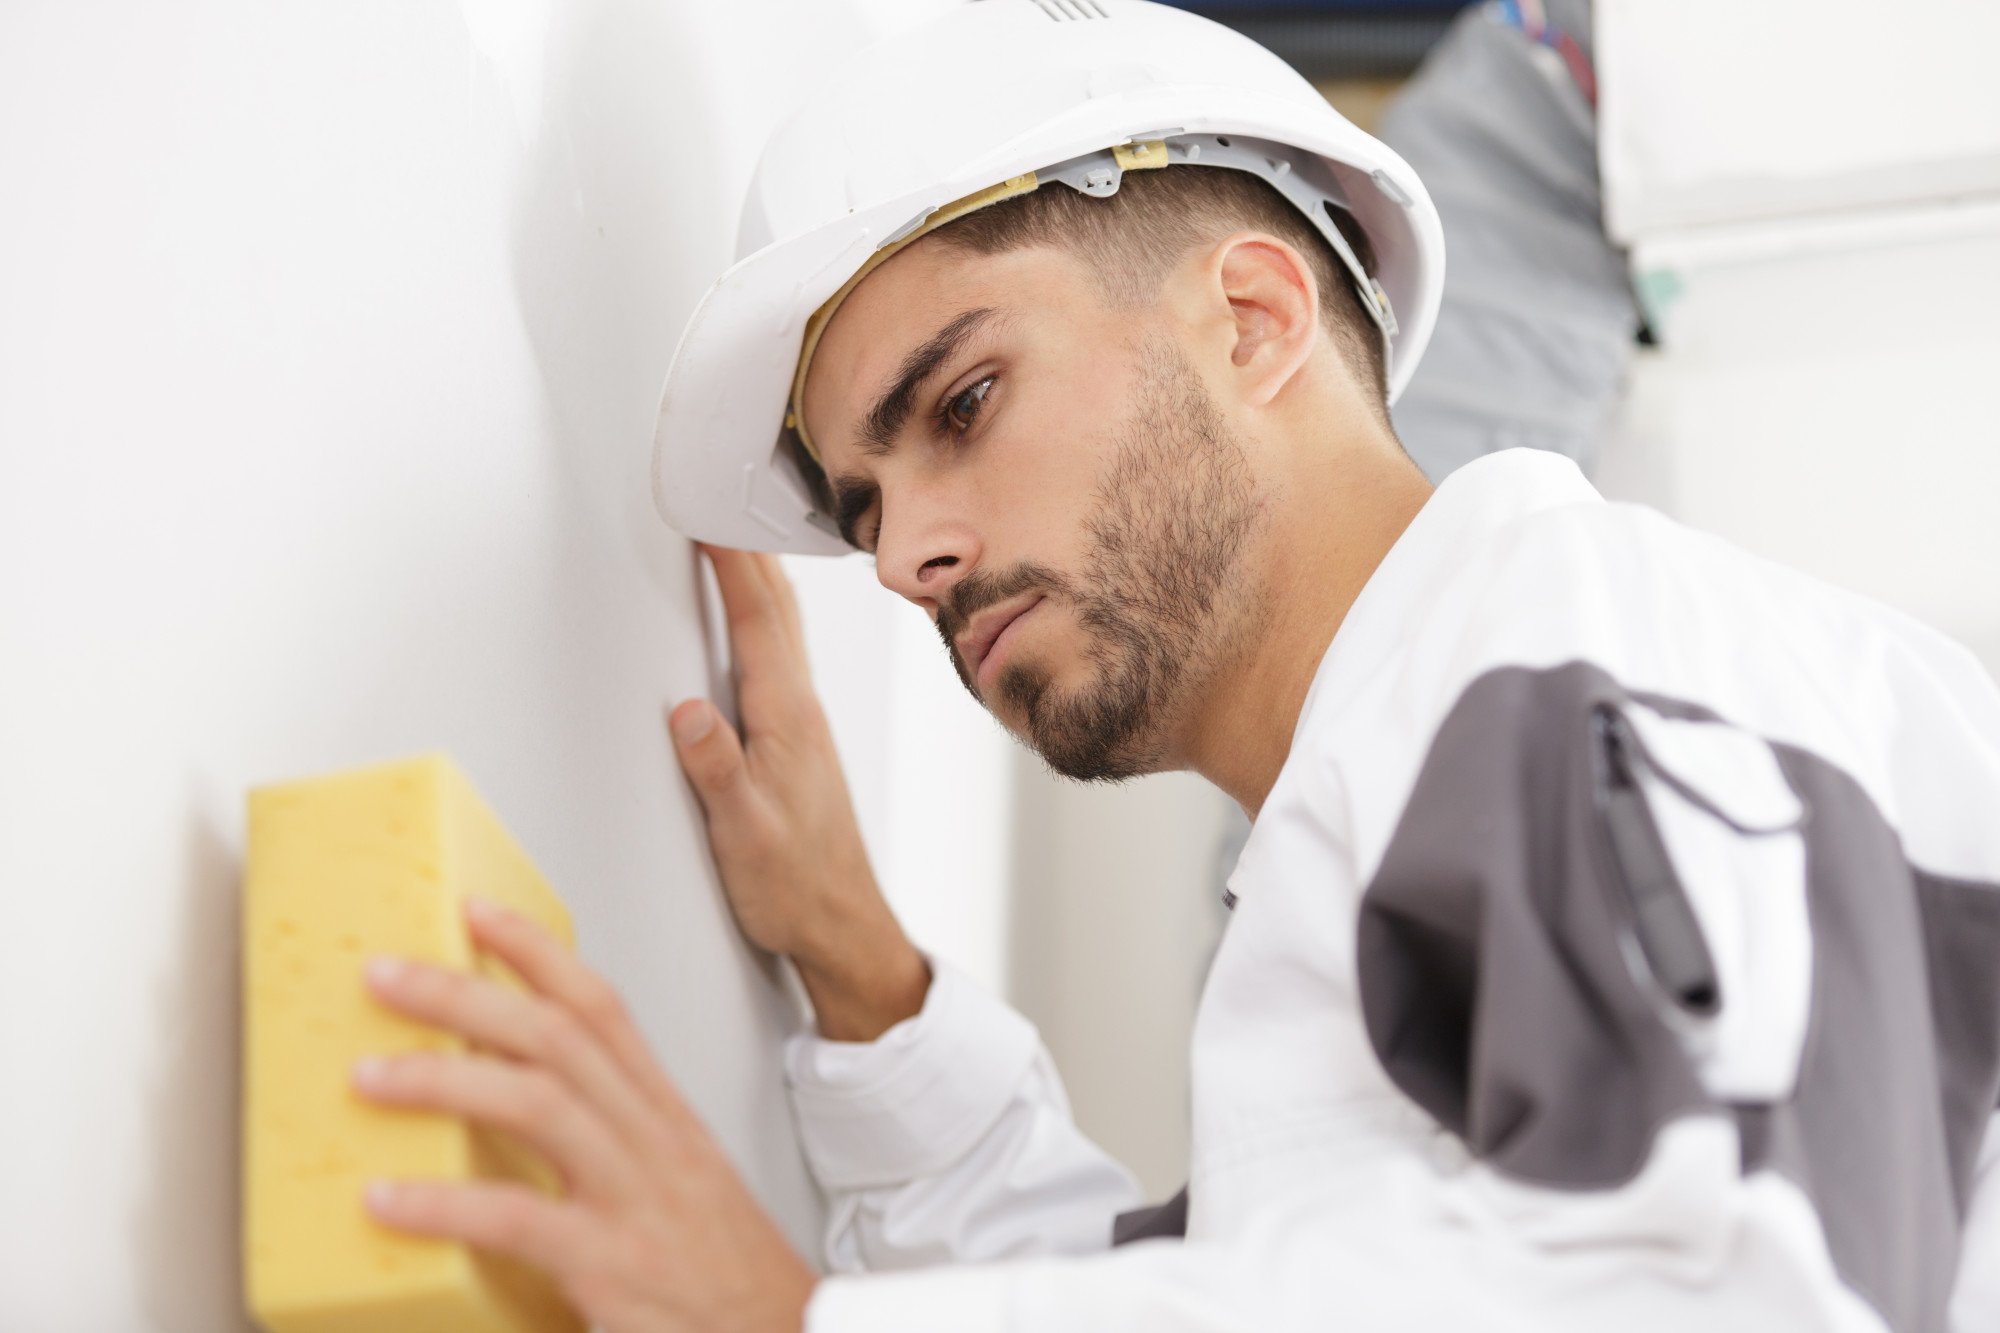
3. Sand the Wall
One should begin by gathering the appropriate tools. These tools should include a sanding block, some 120-grit sandpaper, and a dust mask. Next, the wall should be carefully inspected to identify any imperfections in the drywall that need to be smoothed out.
Once identified, the area should be sanded lightly with the sandpaper, using a sanding block for larger areas. It is important to make sure that all imperfections and bumps have been adequately sanded before continuing.
Once finished, any dust and debris should be vacuumed up, and the wall should always be wiped down with a damp cloth to make sure there are no remaining particles left on the surface.
Now, you are ready to paint your wall with the help of professionals. Top handyman services are just a call away for perfect wall painting and desired results. So don’t hesitate to take that step and get started today; check out this link: https://originalfloridapainting.com
Start Prepping Drywall for Paint Today
Be sure to give your drywall a thorough check-up and inspection to ensure it is in the best shape for painting. Take your time inspecting the drywall for any damages and make the necessary repairs.
If you have done the appropriate steps for prepping drywall for paint, your job will be easier. With that said, it’s time to get started and give your walls a fresh paint job!
If you find this helpful and want to read more great content, check out our latest blog posts now!