


The average cost of hardwood flooring is between $8 and $12 per square foot. With such a steep cost, many homeowners are tempted to save on labor costs by doing the work themselves.
However, doing it poorly can ruin the look of your costly investment.
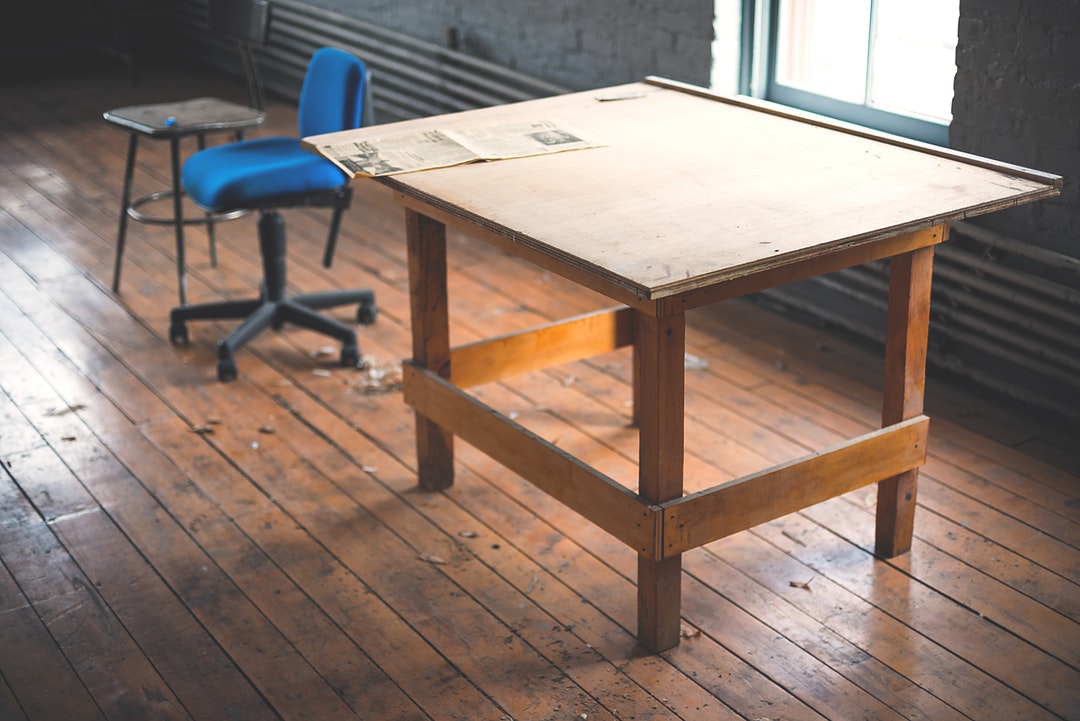
Hardwood installation requires skill and patience if you want your wood floors to look attractive. Continue reading to learn how to install hardwood flooring on your own and what types of wood flooring to consider.
Types of Wood Flooring
The first and arguably most difficult step in hardwood installation is choosing your wood. Some of the most common types of hardwood flooring include those below.
- Oak
- Cherry
- Walnut
- Hickory
- Maple
These styles of wood are available as solid or engineered hardwood flooring. They also come in different plank widths and grain patterns. Consider what will look best in your home and what fits with your budget.
Prefinished vs. Unfinished
Another consideration is prefinished vs. unfinished wood. Prefinished wood has color and sealant already applied and just needs to be installed. Unfinished must be stained and sealed after installation.
Site-finished wood flooring gives homeowners more freedom with customization but it also requires more work than prefinished. Prefinished flooring shows you exactly what your flooring will look like once installed.
Do Your Research
After you’ve made your decision about the type of wood you want, you need to decide how you want it installed. Your first option is to hire hardwood flooring services to do the floor installation for you.
Your other option is to do the necessary research to learn how to do it yourself. Wood floors can be installed with nails, staples, or adhesive. You can also choose floating flooring, which doesn’t include a subfloor.
Prepare the Floor
Once you get your hardwood flooring, the boards will need to acclimate to the room’s temperature and humidity. This generally takes three to five days. While they acclimate, check for signs of damage and warping.
This is also a good opportunity to remove the old flooring and any remaining residue. You’ll also need to remove the baseboards. For flooring pre-dating 1980, consider hiring a professional to check for asbestos.
Gather Floor Installation Tools
The tools you need for hardwood installation depend on your chosen method of installation. Nail or glue floor installation can be challenging for homeowners. DIY-ers may prefer staples instead.
- Eye protection
- Dust mask
- Tape measure
- Adhesive, nails, or staples
- Hammer or mallet
- Chalk and chalk line
- Hand saw
- Power saw
If using nails, staples, or adhesive, you’ll also need the tools that accompany these methods. Examples include a nail gun or a staple gun.
Hardwood Installation and Finishing Touches
Start on the longest wall in the room you’ll be using. Use your chalk to create a 3/8″ line from the edge of the baseboard.
Attach the first board to the subfloor at the chalk line perpendicular to the joists. Tap the next board in place with your mallet, cutting each board as needed before securing. Once finished, replace trim and apply the finish.
Prepare for Hardwood Installation
Hardwood installation is a complex process that requires patience, skills, and decisiveness. Make sure you do your research in advance to help guide your decisions and consider whether you want a professional to take care of it.
For more guides and tips, visit our blog.